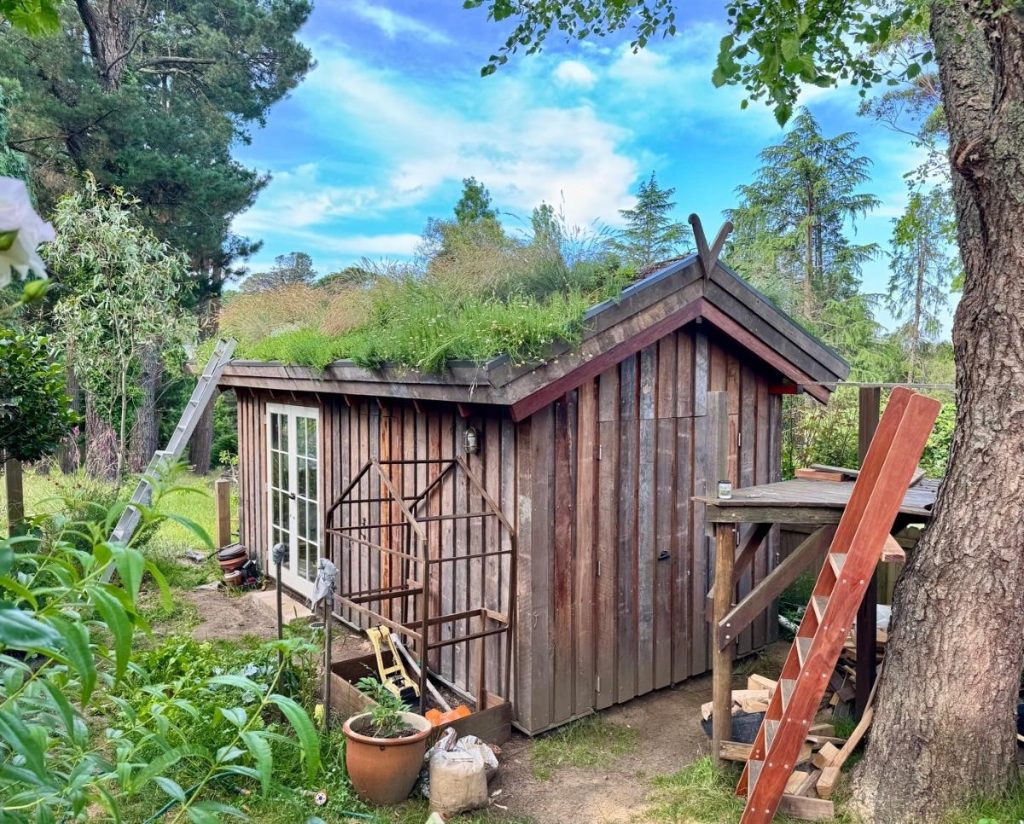
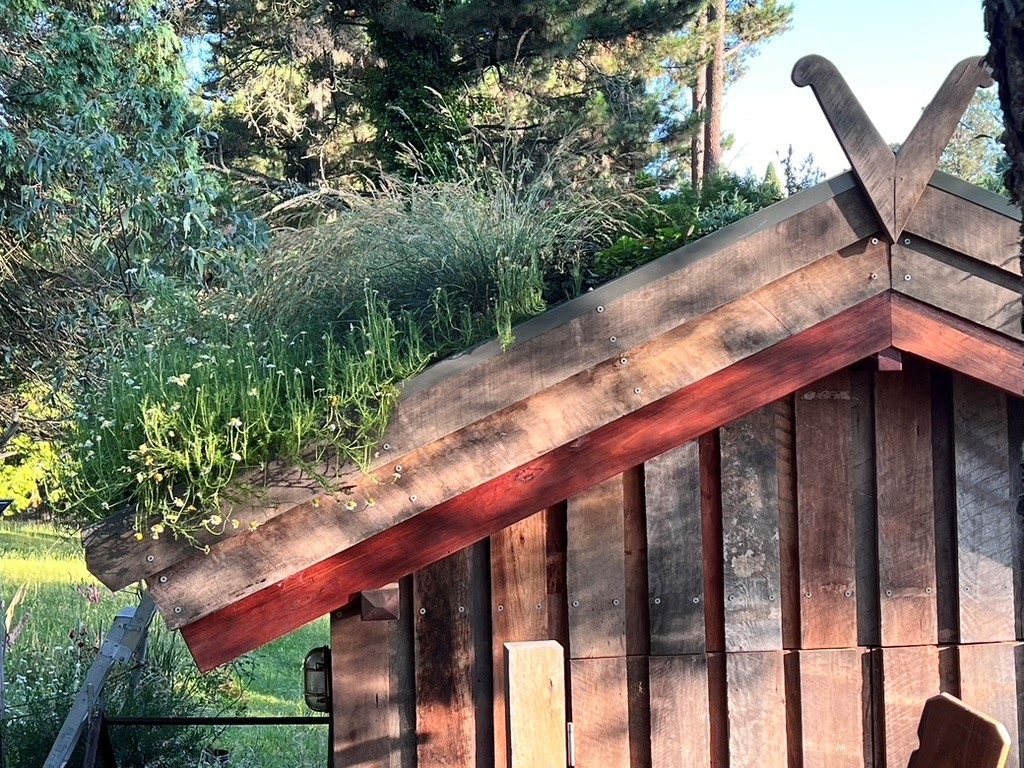
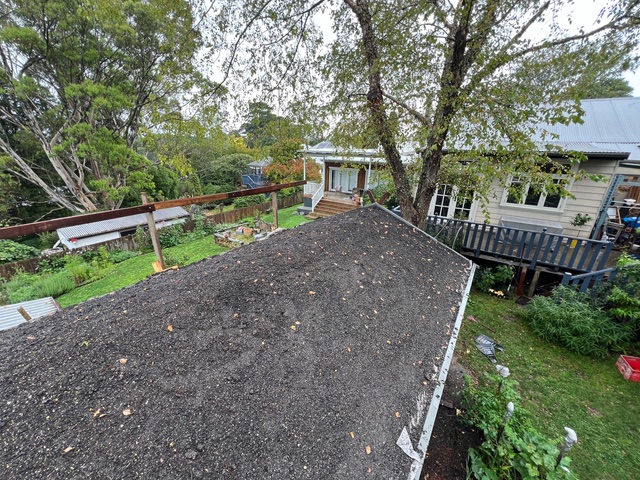
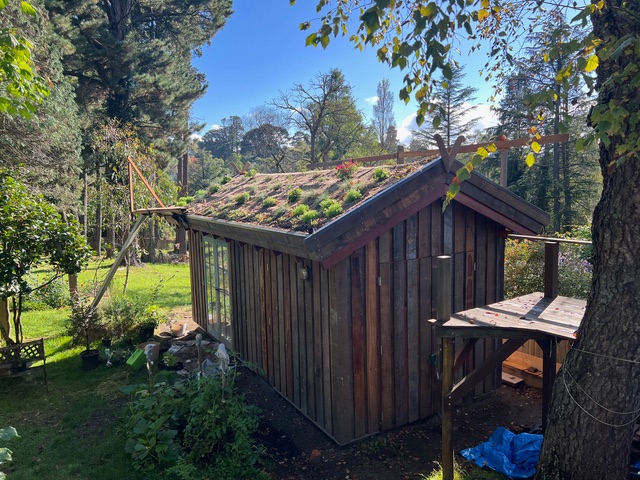
Mark Liebman’s new shed with its green roof (Photo: Lis Bastian)
Inspired by Norwegian sod roofs, Blackheath engineer Mark Liebman built a green roof on his shed. This innovative design significantly reduced stormwater runoff during 2024’s heavy rains, potentially by 65 per cent, while also providing excellent insulation and attracting wildlife. The family now fondly refers to their shed as their mini Viking Long House!
Key Points:
- Inspired by sod roofs in Norway, Blackheath engineer Mark Liebman built a green roof on his garden shed to manage stormwater runoff and provide insulation.
- The green roof significantly reduced stormwater damage during heavy rains in 2024 (potentially by 65 per cent), attracts wildlife, and provides excellent insulation (R6), creating a comfortable space year-round.
- Building a green roof requires careful planning and structural engineering due to the substantial weight of the soil, water, and even potential snow load.
On his honeymoon to Norway many years ago, Blackheath engineer Mark Liebman was inspired by the cabins he saw, built with green ‘sod’ roofs. These roofs had been providing insulation for centuries in a very cold climate.
As a civil engineer specialising in water management, Mark was particularly interested in how a green roof could also reduce the impact of heavy rains on hard surfaces and potentially reduce stormwater runoff.
When the opportunity arose to rebuild his garden shed last year, he decided to explore recreating what he’d seen in Norway. Visiting him recently it was clear that he couldn’t be happier with the result.
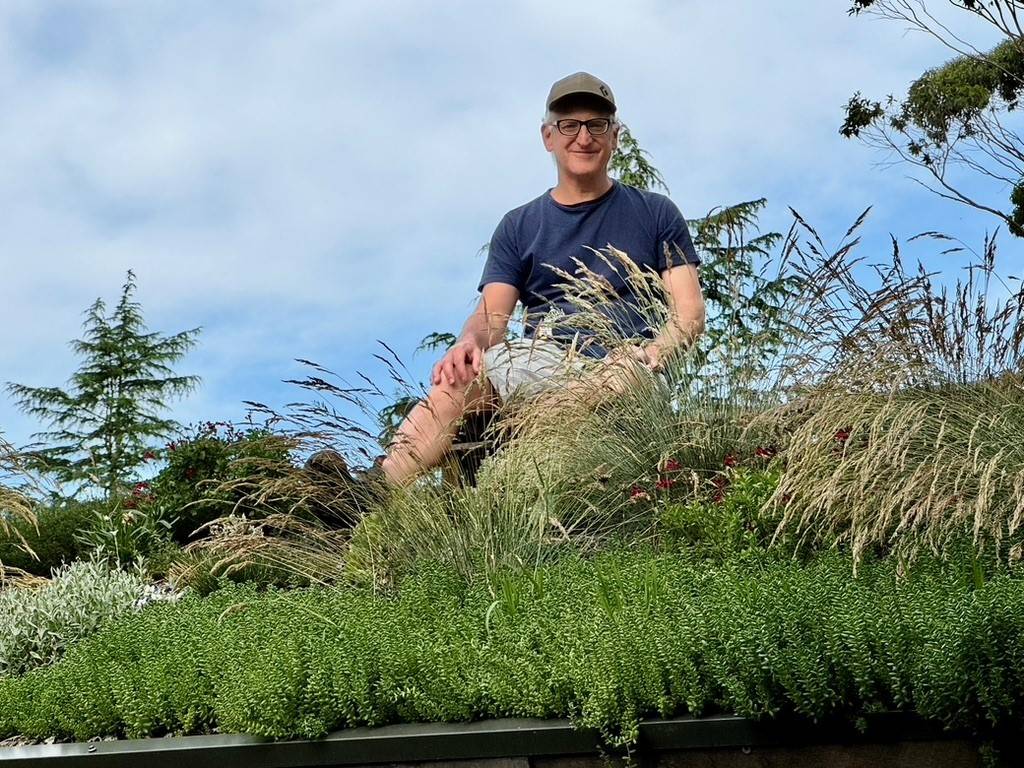
Mark Liebman sitting on his green roof. (Photo: Lis Bastian)
By every count the green roof has met and exceeded his hopes and expectations.
Not only did the roof survive the multiple, severe downpours that caused so much damage throughout 2024, including reducing stormwater damage to the rest of his yard (possibly by as much as 65 per cent, according to research into green roofs), it is also now teeming with life, as insects, birds, and his family, flock to spend time in this elevated garden.
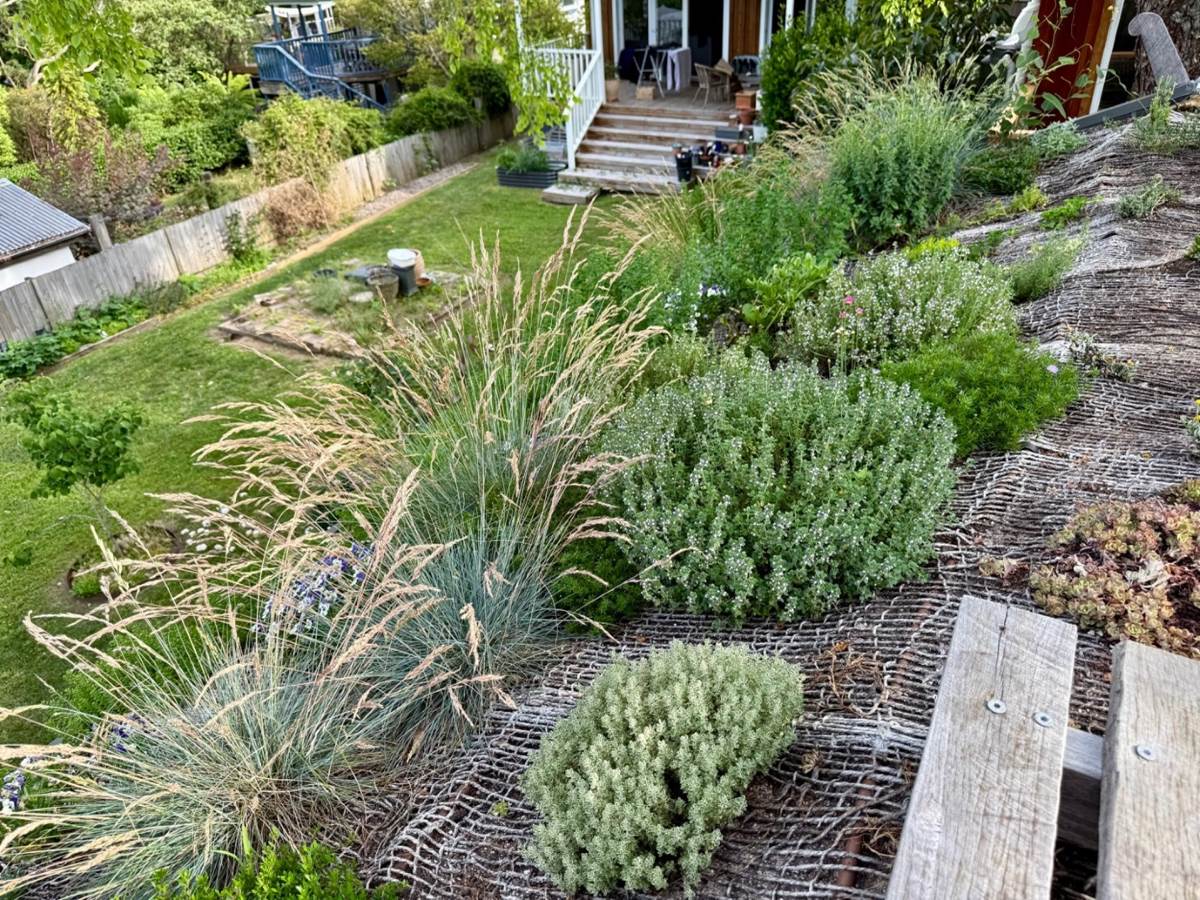
The irrigation of the roof garden increases cooling in Summer (Photos: Mark Liebman)
The shed’s roof provides the equivalent of R6 insulation, and, with evaporation of the garden’s irrigated water in summer, is probably creating even more cooling. This helps save money on heating and cooling and makes spending time in the shed very comfortable, even in extreme weather.
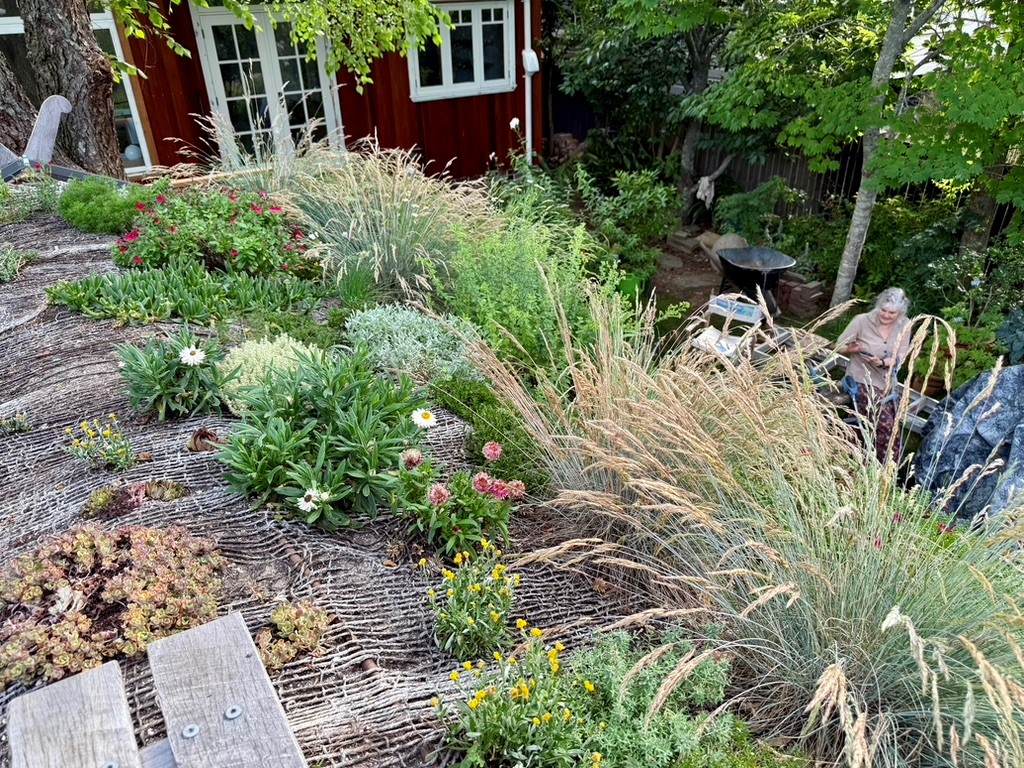
It has now become the central feature of his family’s compact garden: “We call it the mini Viking Long House,” Mark said.
The roof has 150mm of soil (Photo: Mark Liebman)
So how do you build a green roof?
Even as a civil engineer, Mark is clear that you cannot simply add a green roof to an existing structure because its huge weight: a combination of the timbers, pond liner, soil, water when saturated, the weight of up to two people on the roof doing maintenance, and potentially even snow that could build up on the roof in winter in Blackheath.
He estimated that the 150mm depth of soil he put on the roof probably weighs between 1.3 and 1.4 tonnes per cubic metre. This could become completely saturated with 150mm depth of water as well.
Mark sought the advice of a structural engineer as he rebuilt his shed from scratch so that it would be strong enough to support the roof garden.
To increase the insulating capacity of his roof, Mark laid R4 Kingspan solid board insulation on top of (rather than under) the external marine ply layer of his ceiling. It is protected by multiple layers above.
10 steps
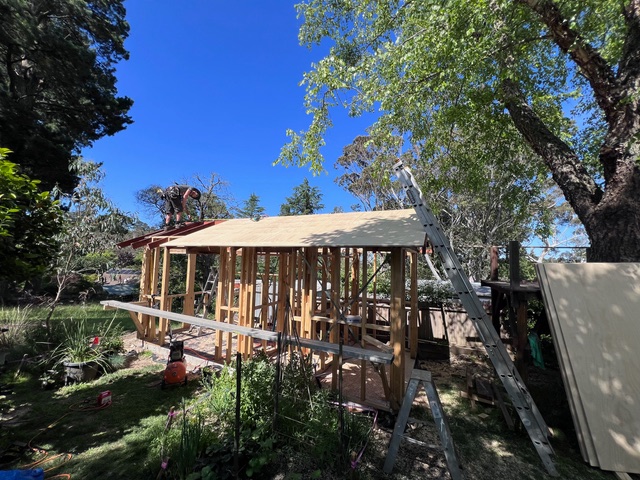
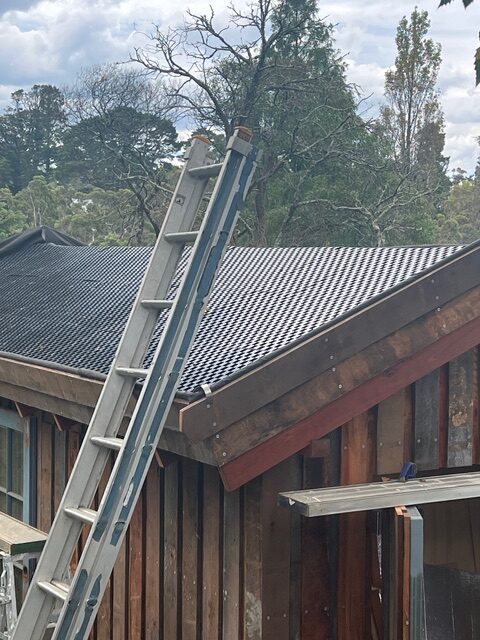
1. The shed’s timber framework was initially covered with 20mm marine plywood roof sheets.

2. Looking up at the marine plywood roof supported by very strong beams.
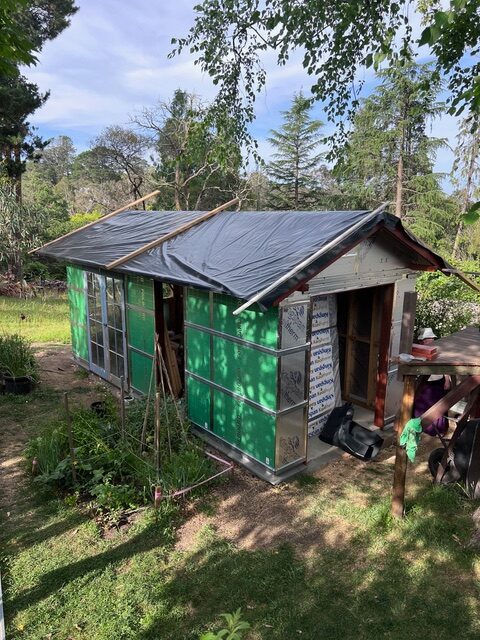
3. The plywood was covered by two sheets of builder’s plastic.
4. Kingspan solid board insulation was then added. There was a gap created between the eave and the edge of the Kingspan board, creating a trough for subsoil drainage. The builder’s plastic and insulation board were then covered by geofabric.
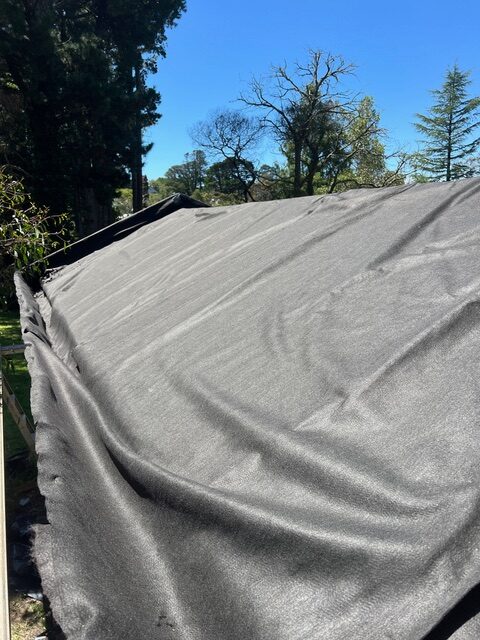
5. Waterproof pondliner was then pulled across the roof over the geofabric. The trough was filled with gravel for subsoil drainage. Water flows along the trough to the drainpipe at one end.
6. Atlantis drainage cells were added on top of the pondliner.
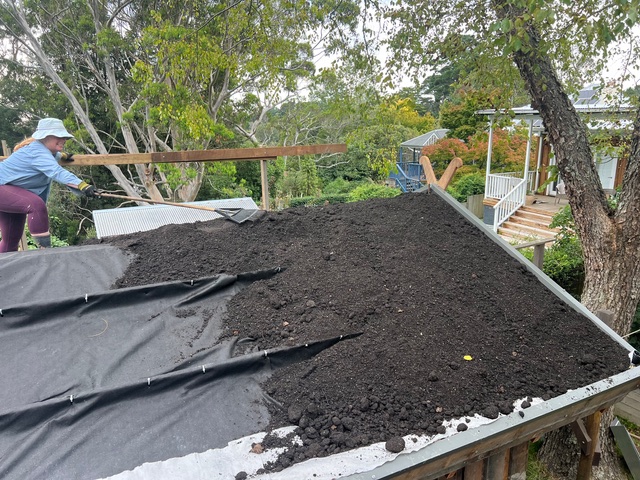
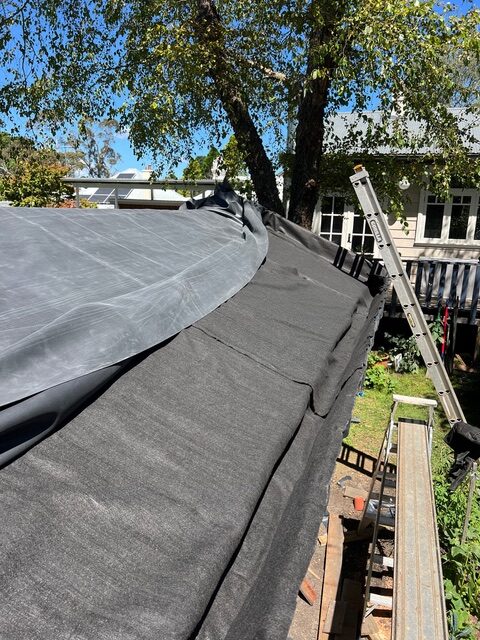
7. The roof was then partitioned into three segments and covered with another layer of geofabric. These segments acted as ribs to stop the soil washing down. Soil was then added.
8. The roof covered in top soil.
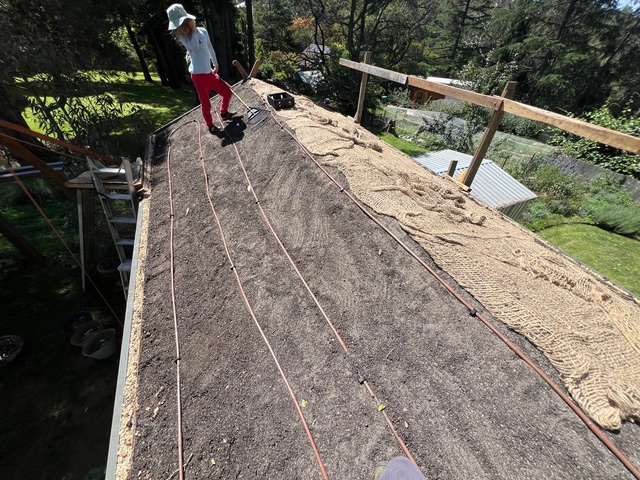
9. Drip irrigation lines were laid in place, then covered with open weave jute mesh to help hold the soil in place.
10. Immediately after the first planting.
More resources for green roof construction:
North Sydney Council Green Roof and Wall Resource Manual:
https://www.northsydney.nsw.gov.au/downloads/file/1314/green-roof-and-wall-resource-manual
City of Sydney Green Roof Case Studies, Policies, Design and Waterproofing Guides:
https://www.cityofsydney.nsw.gov.au/environmental-support-funding/green-roofs-and-walls
Sydney City Council Green Roof Resource Manual:
The United States Environmental Protection Authority recommends green roofs as a way to reduce the urban heat island effect:
https://www.epa.gov/heatislands/using-green-roofs-reduce-heat-islands